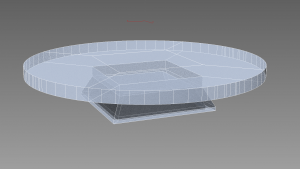
A see-through version of the tripod mount.
Although we have a lot going on in the ADHC, sometimes it’s faster to build from scratch. Armed with Autodesk’s 3D Studio Max and a 3D Printer, I created this tripod mount for our webcam after a few challenging videoconferencing sessions trying to prop up the camera.
Here in the ADHC, we’re equipped with several projectors and webcams designed for group video conference across institutions or individuals. One of our cameras transmits in HD video resolution when attached to its proprietary base station, and it supports a standard tripod mount. Sometimes we have users who can only videoconference via Skype, Google Hangouts, or Apple FaceTime, and those services only support a lower resolution format, so we rely on a Logitech webcam. Downsides to the Logitech camera is a limited wide angle, height adjustment, and a lack of a tripod mount. I suppose it was designed to sit on top of TVs, long conference tables, or podiums.
I looked online for a flat tripod head without the skid knob, but could only find a replacement which almost cost as much as the entire tripod itself. In the libraries we have a subscription to Autodesk’s 3D Studio Max Design, so I took some quick measurements of the tripod head, made sure to compensate for the knob operation, and made a couple of notations for the dimension. In 3ds Max, I build the disc and cube using keyboard entry, and just eyeballed the width of the lip.
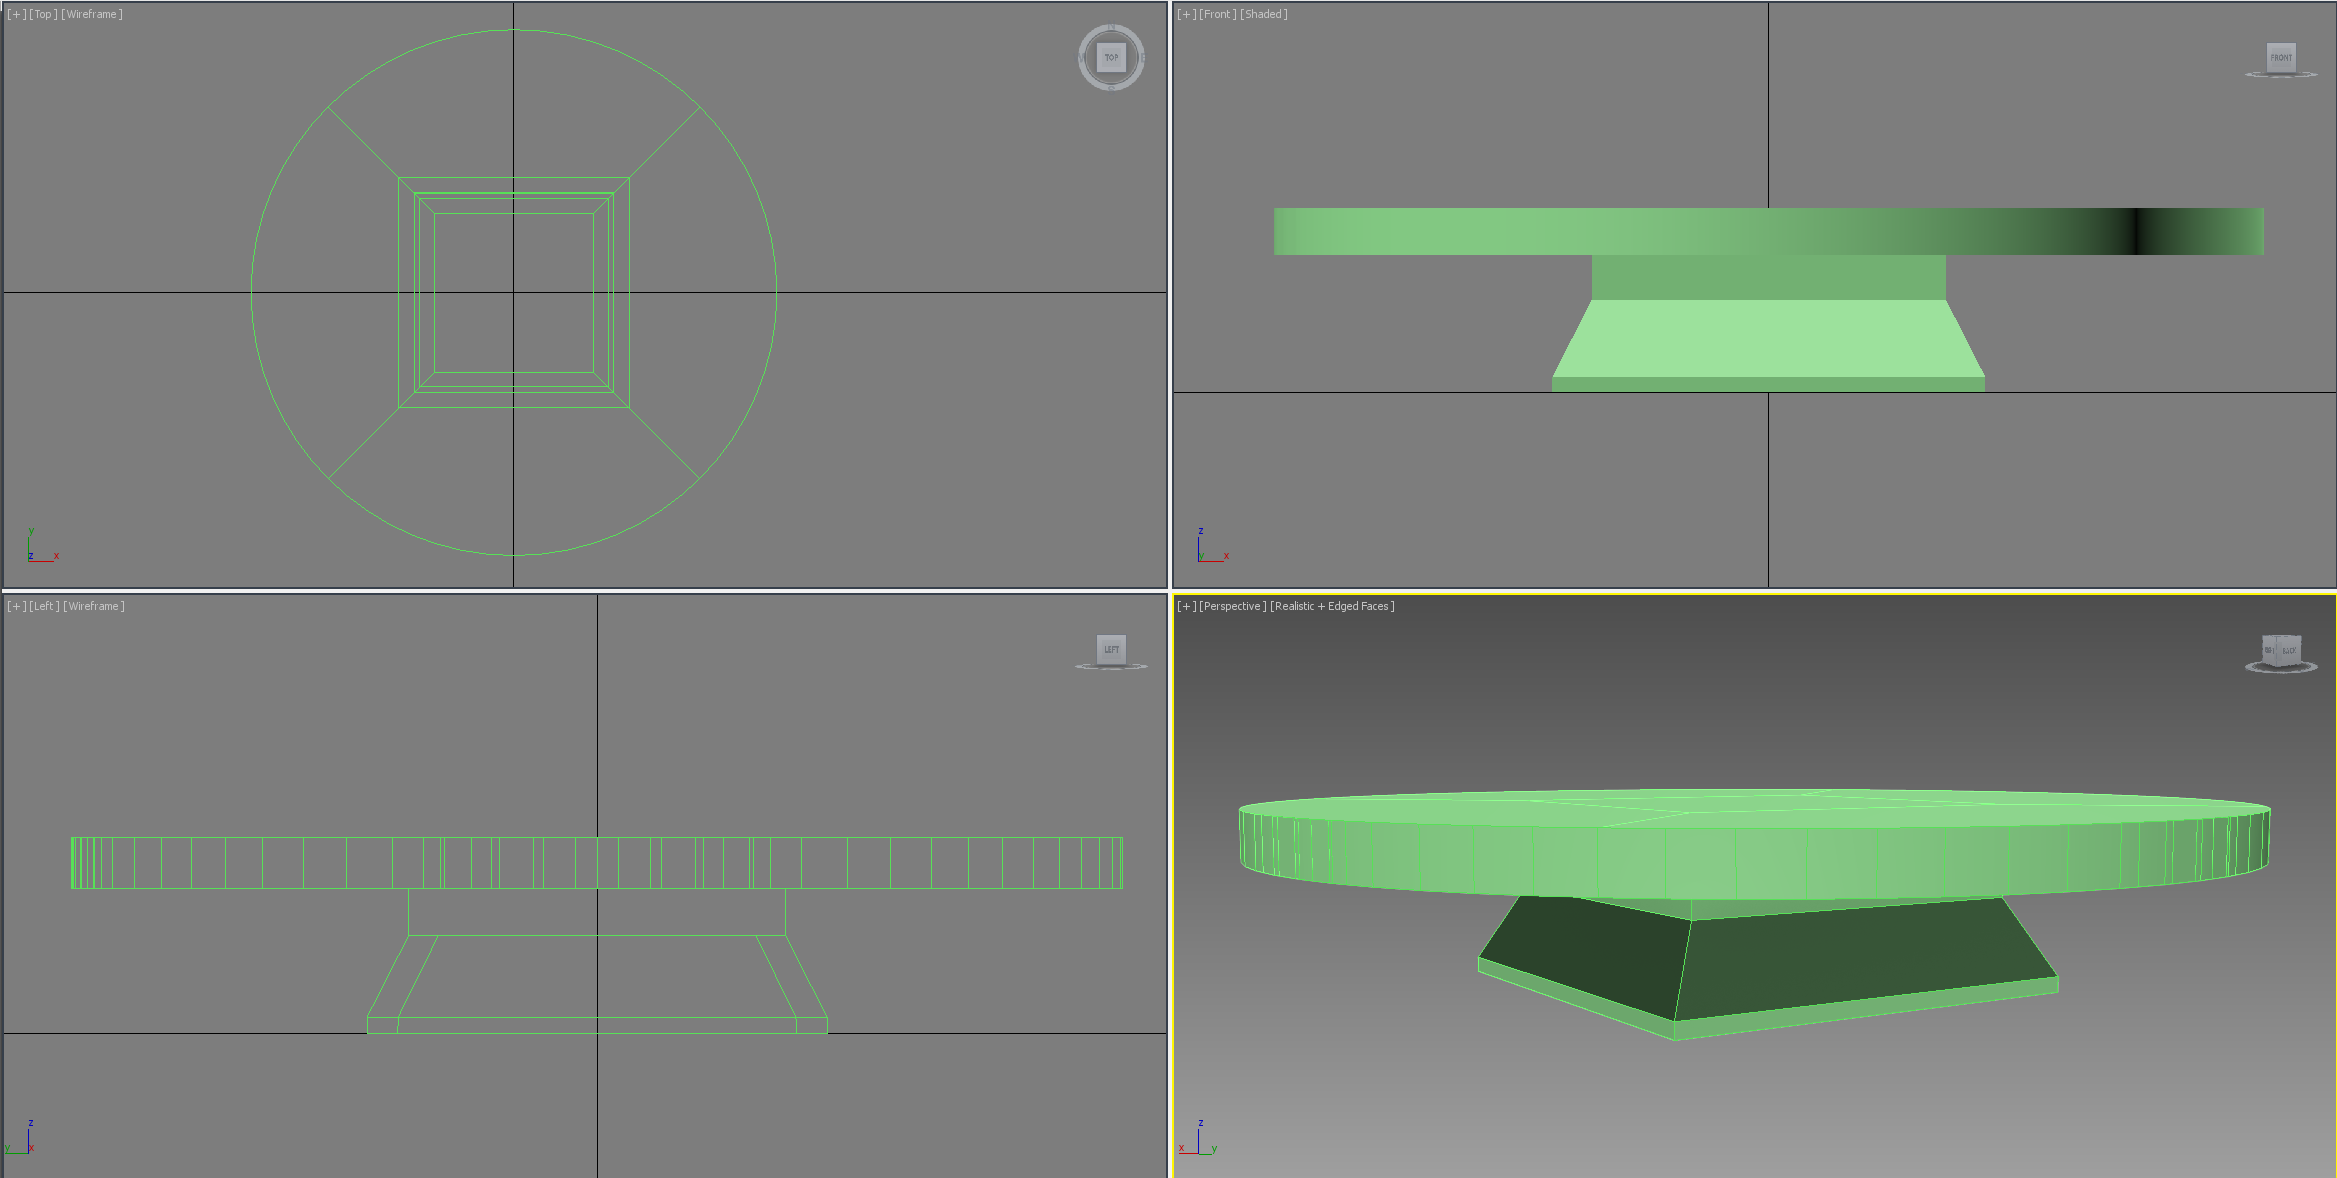
A quad-view of the workspace in 3D Studio Max.
The final result took 20 minutes to model, most of the time spent combining a multi-sided disc to a four-sided polygon as a single object. I chose 3ds Max because it has accurate measurements which could be easily switched to metric if necessary. Also, since this is a relatively simple model w/o annotation or dependent on derivative objects, using AutoCAD would have been an overkill – I would’ve spent too much time just setting up the project. On the other hand, Google’s SketchUp “cheats” quite a lot with Boolean operations which you may end up with inverted faces, manifold errors, and a host of potential problem if you intend to apply textures, animate the object, or in our case, print the polygon as a 3D object.
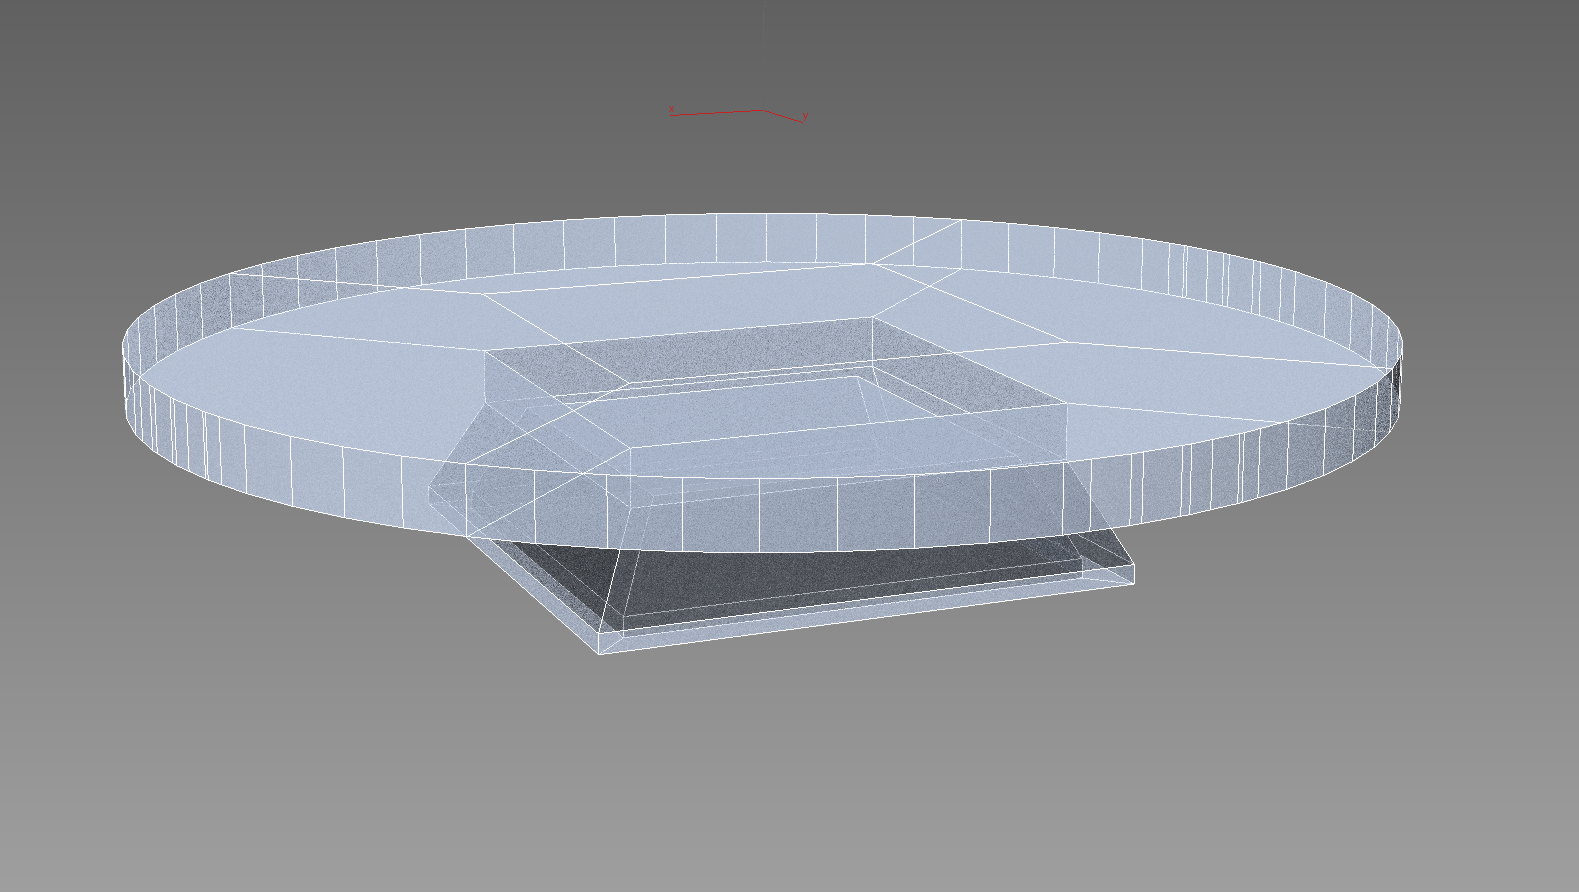
A see-through version of the tripod mount.
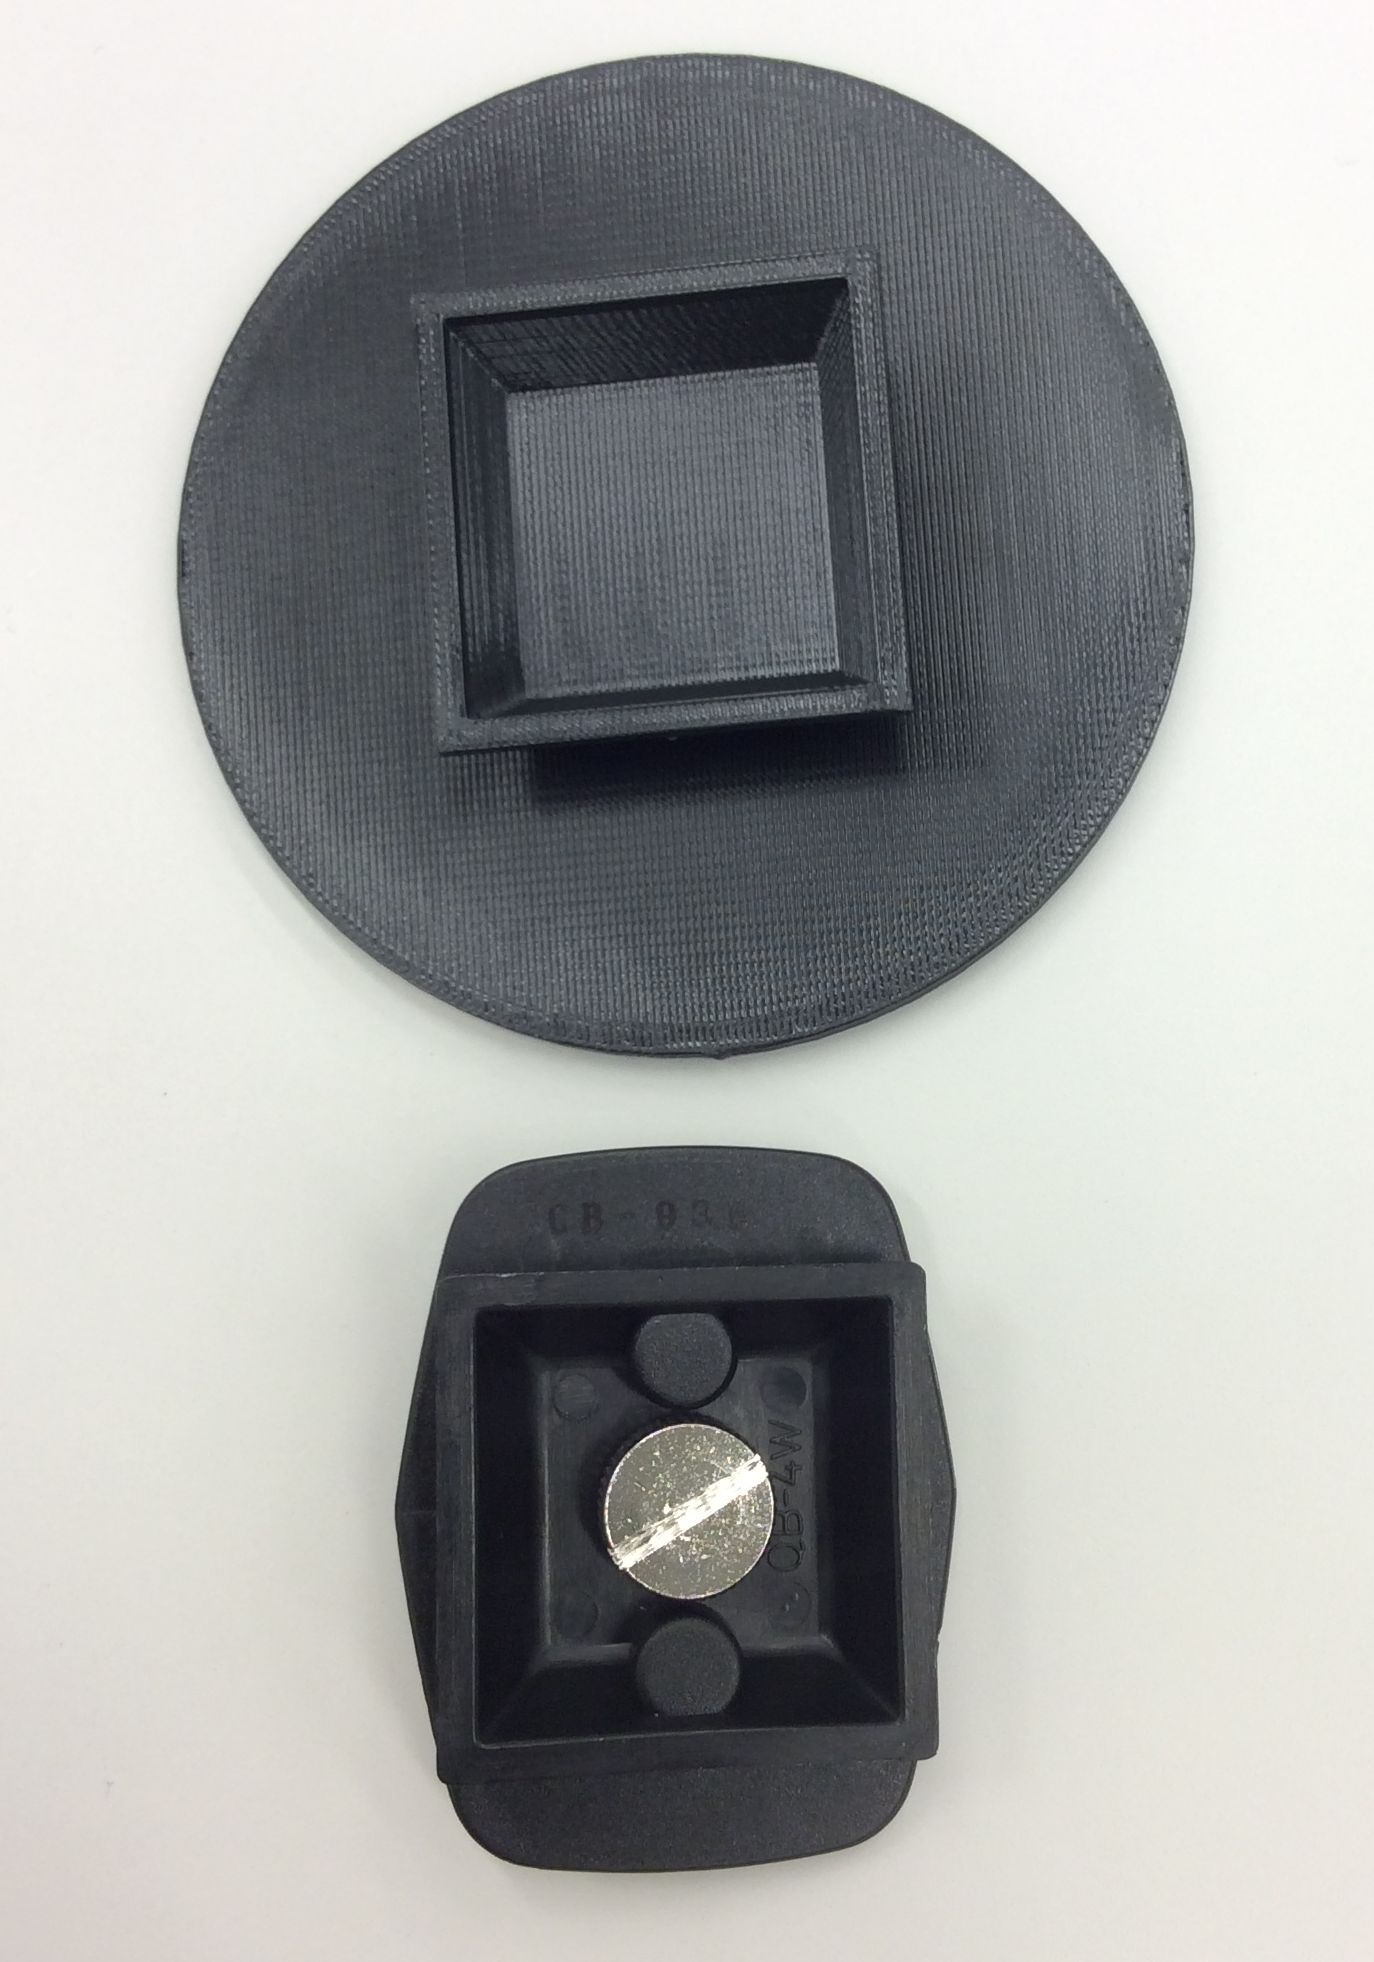
Comparison between the printed mount (above) and the original (below).
After modeling was finished, I simply exported the model as a .stl file for the 3D printer.
I submitted the job and 3 weeks later, it came back pretty much perfect. It may have been 0.5-1.0mm off, but then again it could’ve been my bent tape measure, because the printed plate head fits very snugly in the tripod. Here’s a quick comparison with the original below.
Then, I added some sticky Velcro since Logitech cameras don’t support a tripod mount, but its flat base made it ideal for adhesives.
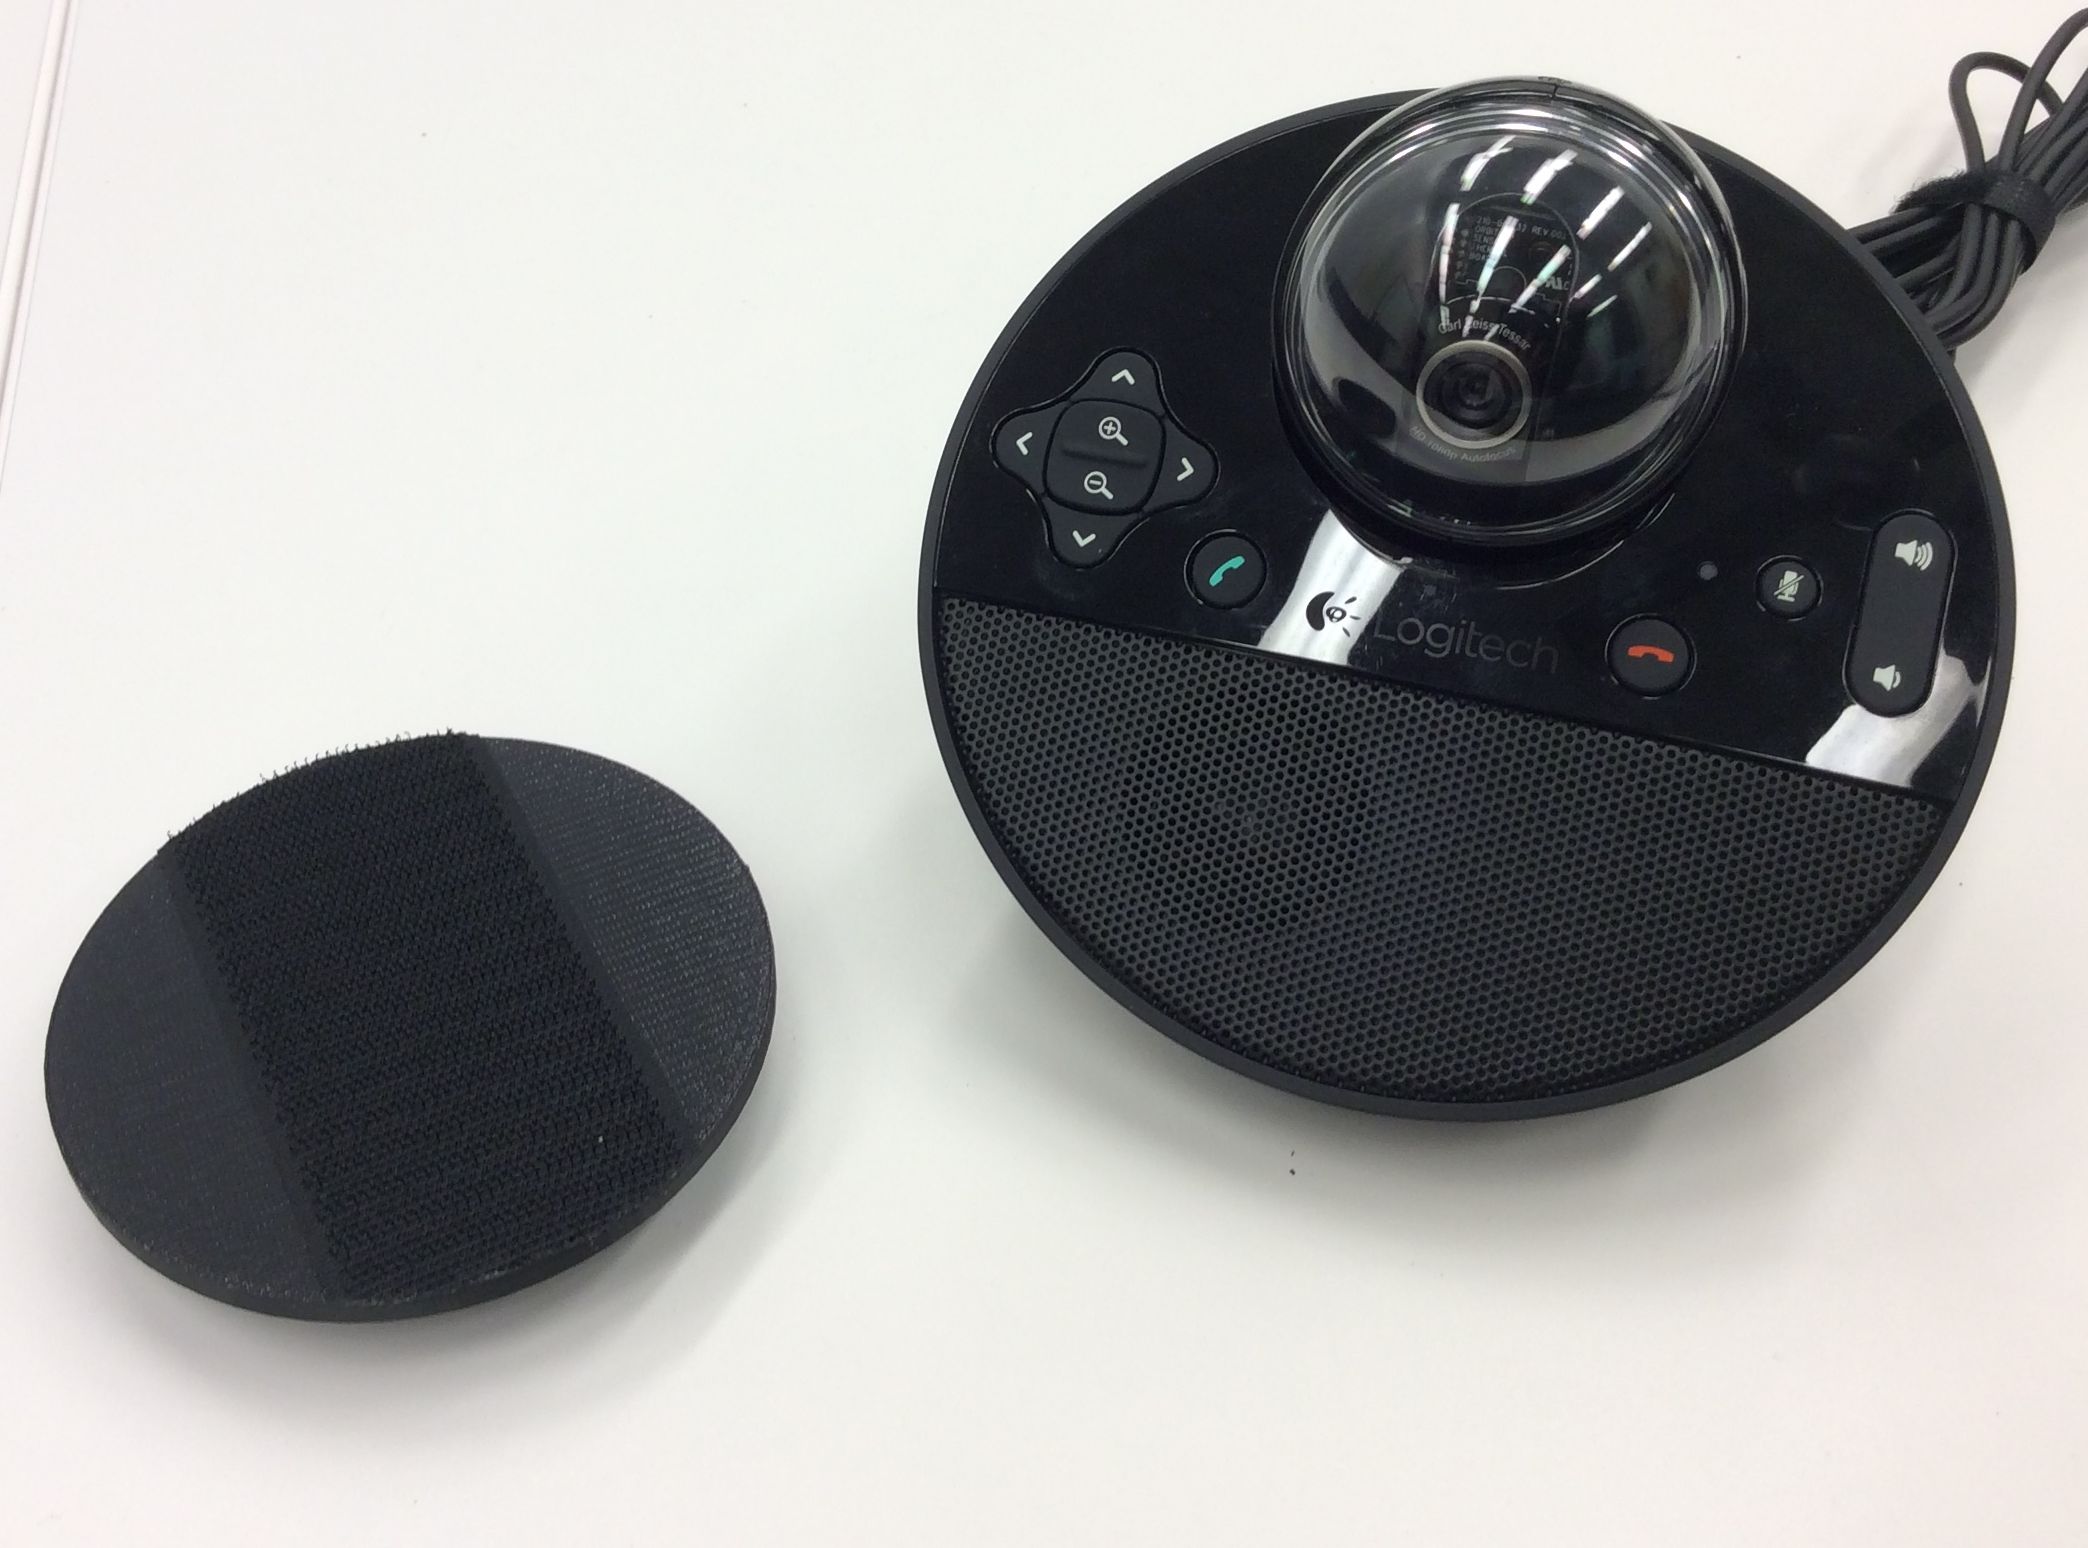
Printed plate with velcro (left), and target camera (right). Pretty accurate dimensions. And matching colors!
And here’s a quick test of the tripod mount with the camera, and some final shots:

We haven’t had the need to tilt this much, but now it’s a possibility! The velcro works pretty well.
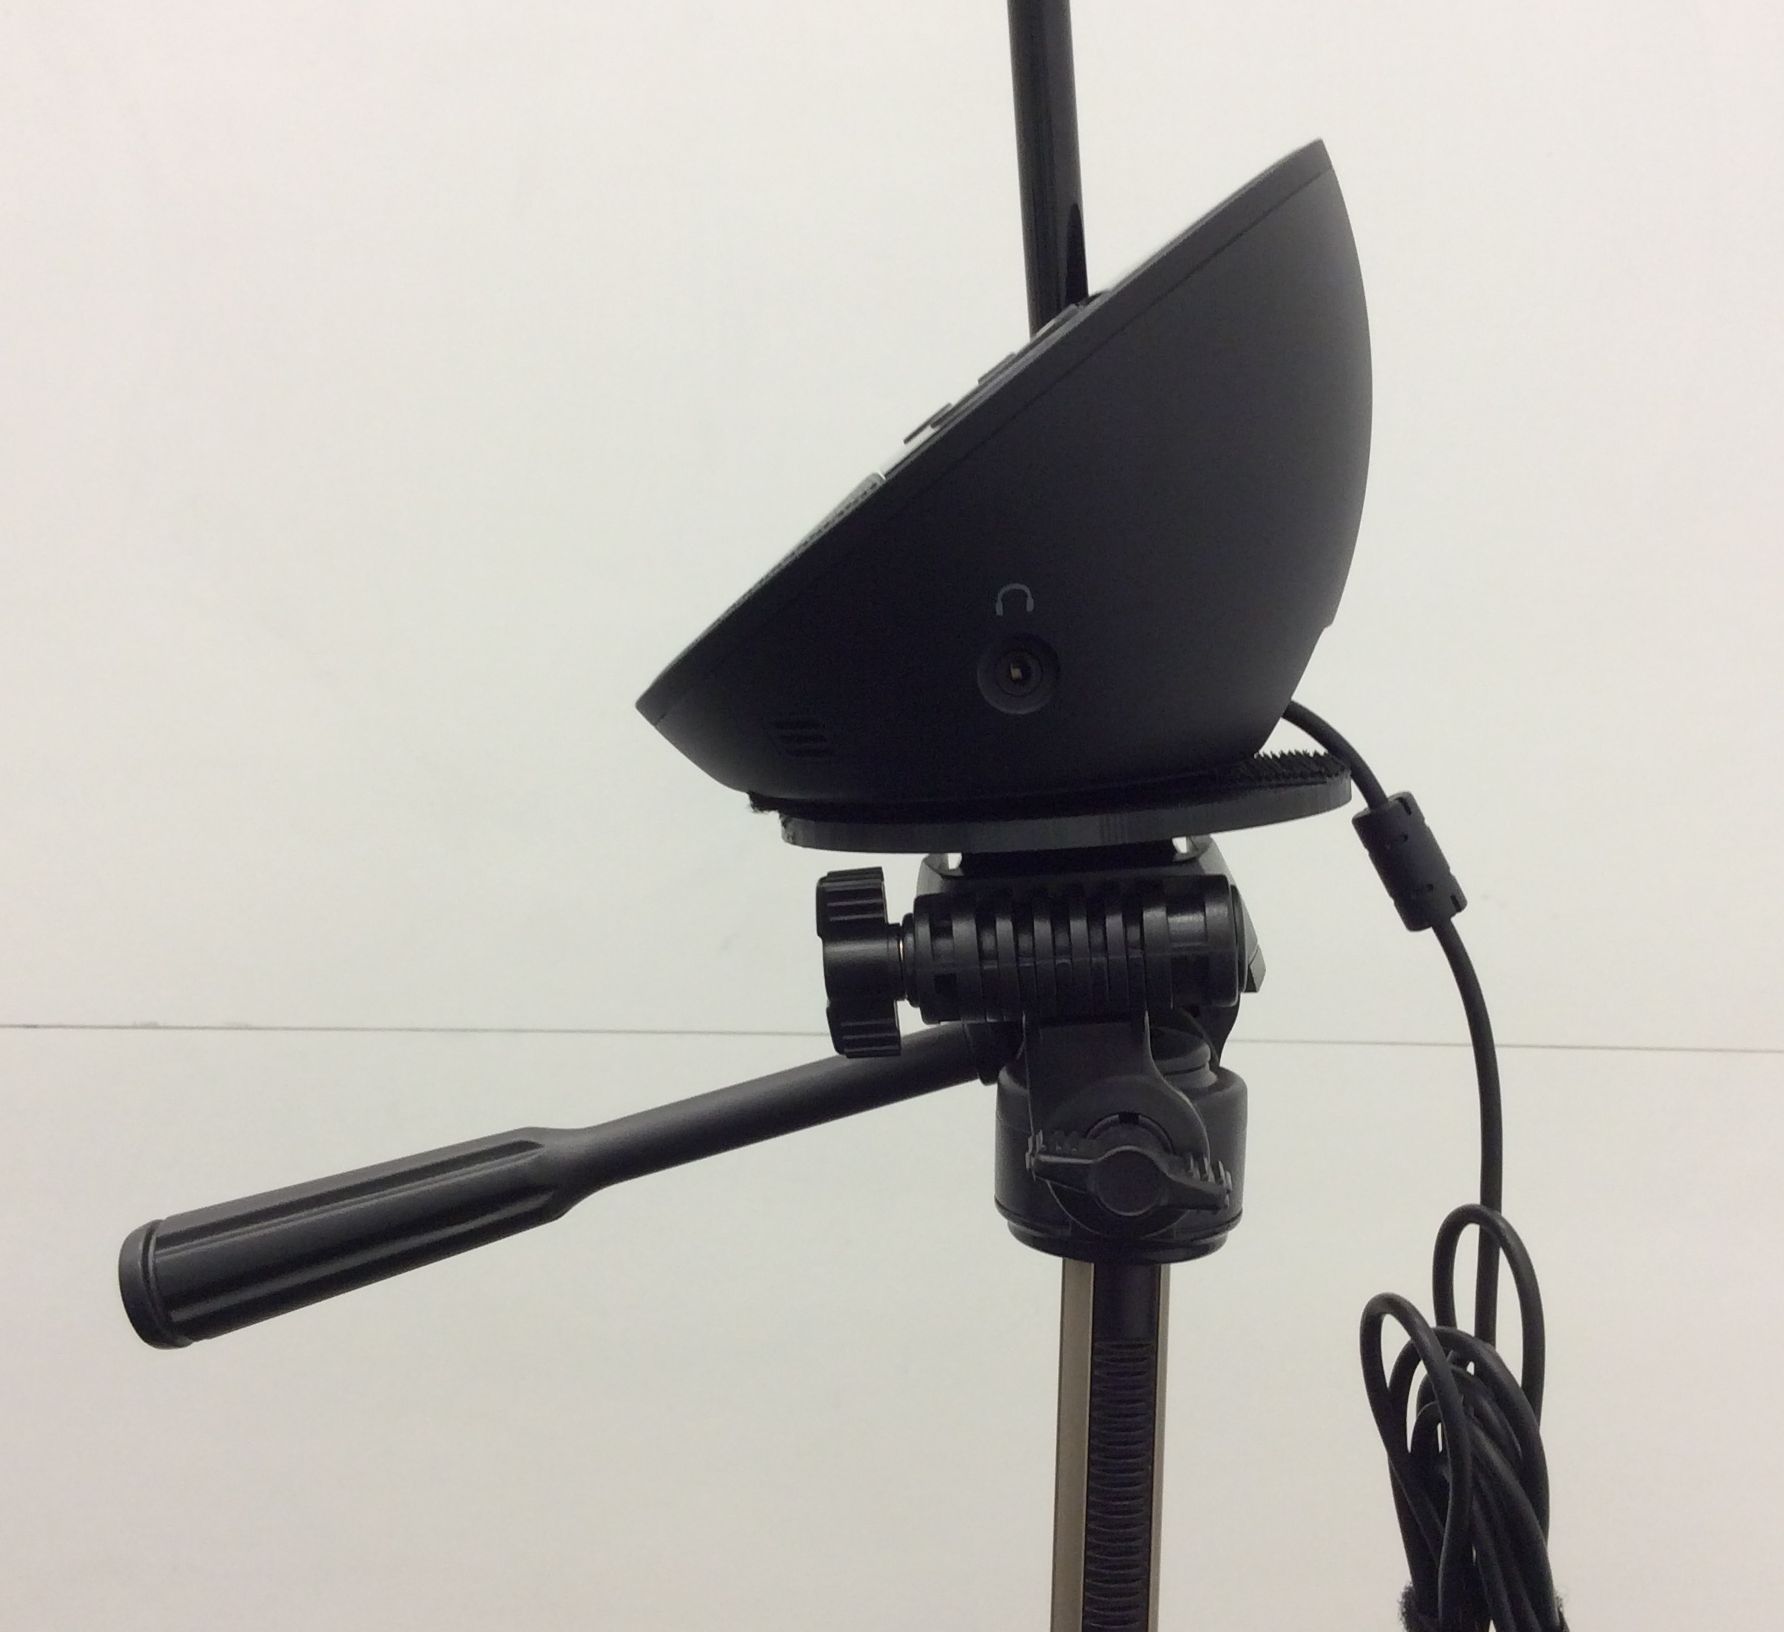
Side view.

Front view of the base. There’s about 2cm of clearance for the knob.
If you’d like to use the 3D printer for your projects, register for a training session over at Rodgers Library. Stay tuned for more!